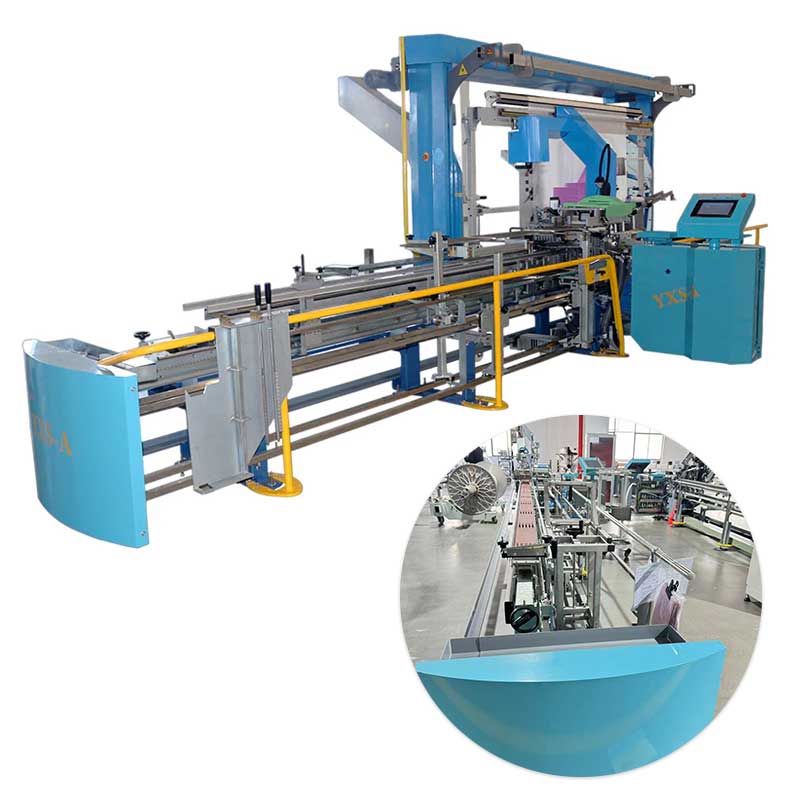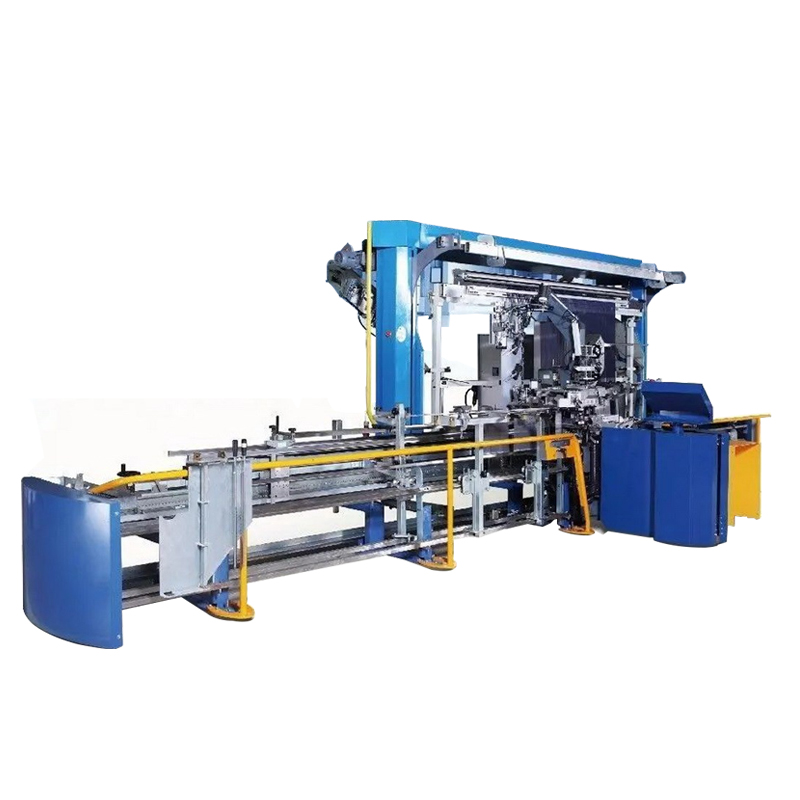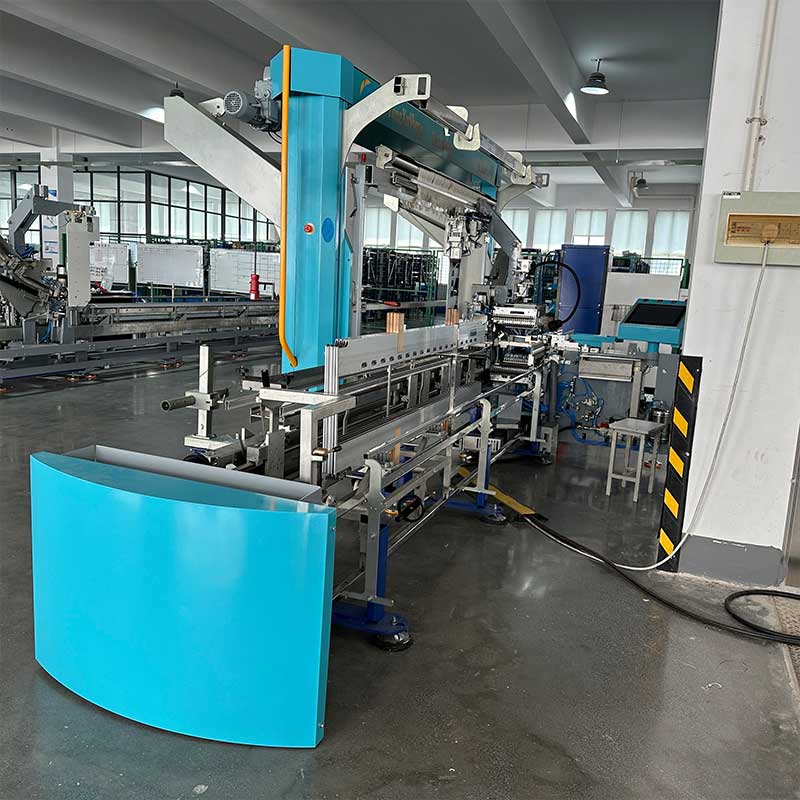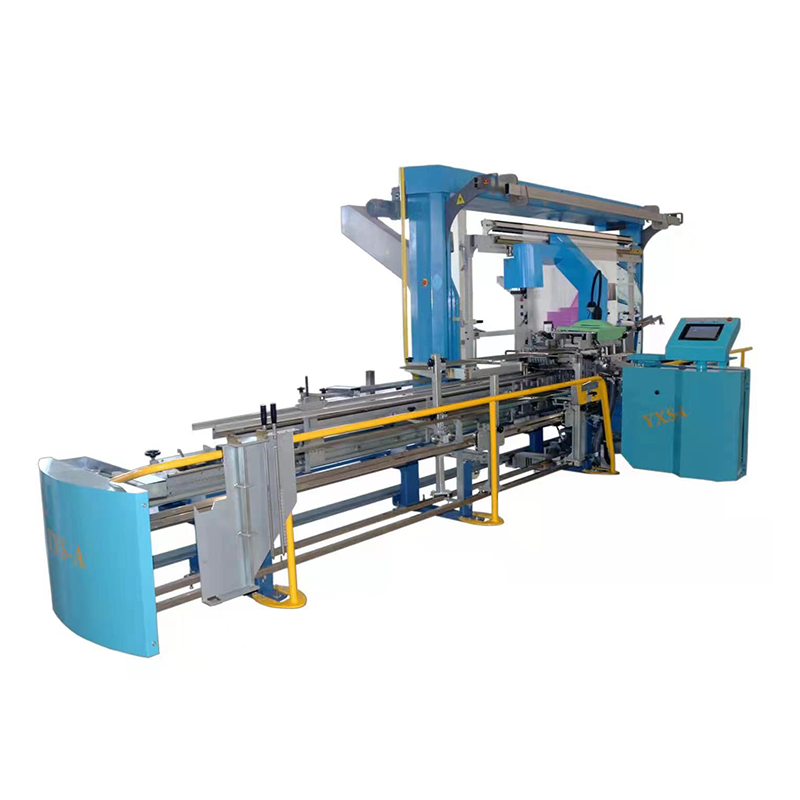
Produktanbefaling
Warp knitting machine yarn binding operation guide
1. Pass the yarn through the tension rod, as shown in Figure 10
2. Check for broken yarn and arrange the yarn splitting, as shown in Figure 11
3. Prepare two bobbins, cover the bobbins with plastic film, and place the comb on the two bobbins steadily; and place the yarn ends neatly on the comb, as shown in Figure 12
4. Use the yarn threader to pass the yarn through the yarn splitting needle on the comb, as shown in Figure 13
5. Cut the double-sided tape on the yarn, as shown in Figure 14
6. Check for broken yarn and arrange the yarn ends, as shown in Figure 15
7. Move the disc head in a little bit to pull out the taut yarn, as shown in Figure 16
8. Pass the yarn splitter on the comb and pass the steel wire, as shown in Figure 17
9. Check if there is any yarn threading error or broken yarn on the comb. If there is no problem, fix the comb on the warp knitting machine, as shown in Figure 18

Cloth Dropping Operation Instructions:
1. Use large scissors or electric scissors to cut the cloth along the gap between the two tapes, as shown in Figure 15. The length of the cloth head from the paper tube should be controlled at 9±1 cm.
2. Change the winding switch from automatic to manual, and the electric reverse button, as shown in Figure 16, collect the cloth head and wind it up, and control it at 9±1 cm, as shown in Figure 17
3. Stick double-sided tape on the top of the paper tube, tear off the double-sided tape, put it in the trash can, and cover the trash can lid, as shown in Figure 18
4. Stick the cloth head on the double-sided tape, and the double-sided tape cannot leak out, as shown in Figure 19
5. Turn on the pressure roller switch and lower the cloth pressure roller, as shown in Figure 20/21
6. Change the winding switch from manual to automatic, restart, and turn on the machine, as shown in Figure 22

Vennligst besøk produktsiden for mer informasjon
-
- Tekstilfabrikkens automatiske trådmaskiner og annet tilbehør til tekstilmaskiner har blitt mye brukt i mange markeder i inn- og utland.
- Tekstilfabrikkens automatiske trådmaskiner og annet tilbehør til tekstilmaskiner har blitt mye brukt i mange markeder i inn- og utland.
- 280 Type C Simplex Kolonne Stål Healds ledninger for automatisk inntrekkingsmaskin
- Heddle og åpne ledninger 165*11*0,3 for vevemaskinreservedeler
-
- Yongxusheng automatisk vridningsmaskin Produktinnføring
- Denne nye vesten i kinesisk stil som Elon Musks sønn bruker er trendy på nett, og viser frem den største trenden innen kinesisk mote.
- Er ikke stoffet sterkt nok? Ikke skyld alltid på garnet; det er mest sannsynlig et problem med etterbehandlingsprosessen.
- Garnfargingsprosess - bleking